Here is a crypto trading bot review of Bitcoin Prime.
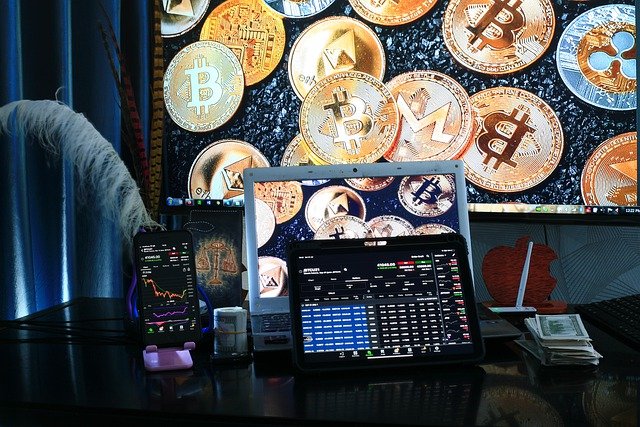
Given their popularity, the rate at which cryptocurrencies get created and expanded is astounding. It has caught the interest of governments’ economic arms and individuals worldwide who want to apply it in their enterprises. Cryptocurrencies are remarkable commercial inventions.
Given their intention to amass vast sums of money, most people dislike trade and have no desire to engage in it, which is ironic, considering that trading is essential to achieve such a goal. Bitcoin Prime is capable of settling such a predicament. The answer to such a problem! Bitcoin Prime is the solution.
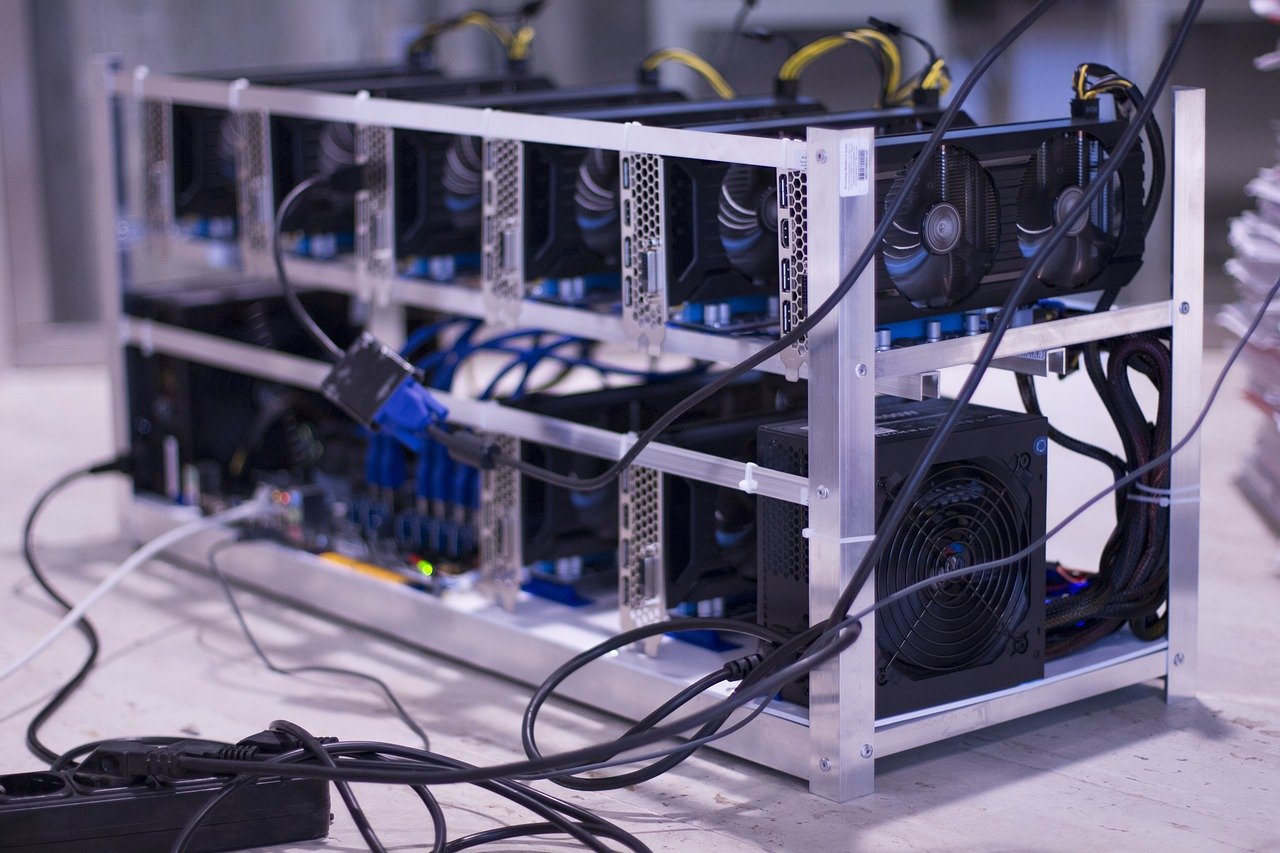
Bitcoin Prime is a set of applications that enables you to trade cryptocurrencies. The program is a robot and AI system that helps you analyze the Bitcoin market and decide whether to buy or sell your assets by delivering the most detailed analysis available. The system is unequaled since it is automated. The trading system achieves a maximum accuracy of over 95 percent most of the time.
What Exactly Is Bitcoin Prime?

Bitcoin Prime is a cryptocurrency exchange system that aims to provide investors with remarkable trading opportunities, regardless of their prior trading experience.
This trading program integrates intelligent technologies powered by Al and machine learning to provide extraordinary capabilities to its customers.
Furthermore, using and navigating Bitcoin Prime is straightforward. It also outperforms other trading tools in terms of performance.
Is Bitcoin Prime Legit?
If you are an investor interested in this platform, you should research whether it is authentic or a scam.
It can be a scam if you are unaware of the volatility and risks associated with bitcoin trading. However, seasoned traders will know that bitcoin and other equally volatile coins do not guarantee risk-free trading. As a result, regardless of the trading tool or platform you employ, your capital is at risk.
Let’s get this party started.
Bitcoin Prime has established itself as a reputable platform, and you can get started with as little as $250, and many legitimate enterprises are using it. Various success stories and proof of earnings show that this is not a scam and that anyone can profit as a bitcoin trader by using it.
However, pay heed!
The lack of understanding about Bitcoin Prime’s founders and creators can make it a bit perplexing for novices. Although the system’s website does not provide many details, several trustworthy external sources have confirmed its legitimacy and uniqueness. You can learn a great deal more by conducting your own research.
Finally, there’s no reason to be concerned.
READ ALSO: Why Small Businesses Are Prime Targets for Cyber Attacks
Is Bitcoin Prime a Good Cryptocurrency Trading Platform?
There are numerous concerns and doubts about Bitcoin Prime and its reputation, particularly regarding the revenue opportunities for traders. The demand for cryptocurrencies is highly competitive, and, as we all know, it is time-sensitive. However, our reviewers noticed a few features that make Bitcoin Prime a legitimate service.
For new users, a demo is available. A minimum investment of €250 is required to initiate live trading once all requirements are fulfilled. Minimum deposit and stop-loss limits safeguard traders and their assets from volatility. The network’s brokers and trading signals can help traders and investors reach high success rates. It has a simple user interface.
In What Ways Does Bitcoin Prime Make Trading Easy for Its Users?
Transactions that get done promptly
Although a few legal Bitcoin Prime competitors offer Bitcoin trading and transactions with other cryptocurrencies, their transactional procedures are rigid and time-consuming. The Bitcoin Prime withdrawal process, in comparison, is quick and straightforward, with your bitcoins available in as little as 24 hours. It is a crucial factor for many traders when selecting a platform.
Customer Support
Compared to other trading platforms, Bitcoin Prime’s customer support is swift, and an online broker is always accessible to help you. With 24/7 support services, you can quickly contact live chat professionals at any time and from any location. It is legally permitted to operate in over 150 countries worldwide. Asian and African countries are unable to access several key trading platforms. However, that’s not the situation with Bitcoin Prime.
Error-Free Trading
Bitcoin Prime was not supposed to be emotional, and it cannot make irrational or quick judgments. This trading system is guided by a set of rules and your individual trading preferences. Every transaction made by Bitcoin Prime gets computed.
Bitcoin Prime: Frequently Asked Questions
What is Bitcoin Prime?
Bitcoin Prime is an automated cryptocurrency trading platform powered by artificial intelligence (AI) and machine learning. It helps users analyze crypto market trends and execute trades automatically with high accuracy—reportedly over 95%. Designed for both beginners and experienced traders, it simplifies trading while maximizing profit opportunities.
How does Bitcoin Prime work?
Bitcoin Prime utilizes advanced algorithms to scan real-time market data, identify profitable trading signals, and execute buy or sell orders automatically. The AI-based system eliminates emotional decision-making, ensuring trades follow set strategies and preferences. Users can adjust parameters, start with a demo account, and then transition to live trading once they are ready.
Is Bitcoin Prime legit or a scam?
Bitcoin Prime is considered a legitimate trading platform, based on user testimonials and the presence of verified brokers associated with it. However, like any crypto-related investment, trading involves risk due to market volatility. Investors should research thoroughly, use only reputable links, and start with the minimum deposit to minimize potential losses.
How much do I need to start trading with Bitcoin Prime?
To start live trading, Bitcoin Prime requires a minimum deposit of $250 (or €250). This initial capital is used by the trading bot to execute trades on your behalf. Beginners are advised to start small, observe performance, and reinvest profits gradually.
READ ALSO: The Legalities Of Crypto Betting: A Global Perspective
Can beginners use Bitcoin Prime?
Yes. Bitcoin Prime is beginner-friendly and does not require prior trading experience. It offers a demo account for practice and an intuitive dashboard that’s easy to navigate. The system’s automated nature handles most of the technical analysis and trading execution for you.
How long does it take to withdraw funds from Bitcoin Prime?
Withdrawals on Bitcoin Prime are typically processed within 24 hours, depending on your payment method and financial institution. The fast and transparent withdrawal process is one of the platform’s key advantages compared to other trading bots with slower transaction times.
Does Bitcoin Prime offer customer support?
Yes. Bitcoin Prime provides 24/7 customer support through live chat and email. Users can contact their assigned brokers or the support team for technical assistance, inquiries about withdrawals, or general guidance. The support system is designed to ensure users have help anytime they need it.
What are the key benefits of using Bitcoin Prime?
Some major benefits include:
- Automated trading powered by AI and machine learning.
- Demo trading feature for beginners.
- High accuracy rate (reportedly over 95%).
- Fast withdrawals within 24 hours.
- 24/7 customer support.
- Global accessibility in over 150 countries.
Is my investment safe with Bitcoin Prime?
Bitcoin Prime works with regulated brokers to ensure a secure trading environment. However, crypto trading always carries risk. Users should enable risk management tools, such as stop-loss limits, and avoid investing money they cannot afford to lose.
READ ALSO: What Is Bitcoin? BTC Price And How It Works
Can Bitcoin Prime guarantee profits?
No trading platform can guarantee profits due to the unpredictable nature of cryptocurrency markets. Bitcoin Prime can enhance your chances of success through data-driven trading, but results depend on market conditions, your investment size, and the settings of your strategy. Always trade responsibly.
Conclusion
Now that everything has been laid bare, it is up to you to make an informed decision. On the other hand, Bitcoin Prime is a good choice because it makes no deceptive claims and provides endless winning possibilities.
INTERESTING POSTS
- Full Review of Avira Prime Antivirus Package
- Difference Between Bitcoin And Bitcoin Cash – Which Is Safer?
- Are Online Trading Apps Safe?
- Twitter Hack: Major Celebrities’ accounts used for Bitcoin Scam
- How To Convert AVAX To BTC
- How To Prevent Botnet Attacks On Your Network
- Web Application Penetration Testing Services: Securing the Modern Web


")