This post will show you tips to choose a home alarm system.
It is quite natural to want to feel safe at home, whether we are going about our business quietly or sleeping peacefully. For some of us, this sense of security comes with the need to install an alarm system.
The question that then arises is: how to choose this one among all the models that exist? Below are some tips that will help you make your choice!
How To Choose An Alarm System
The alarm system at a glance
Basically, an alarm system has the following components:
- a smoke detector;
- a volumetric detector (also called a “motion detector”);
- two perimeter detectors (for windows and doors);
- a mermaid ;
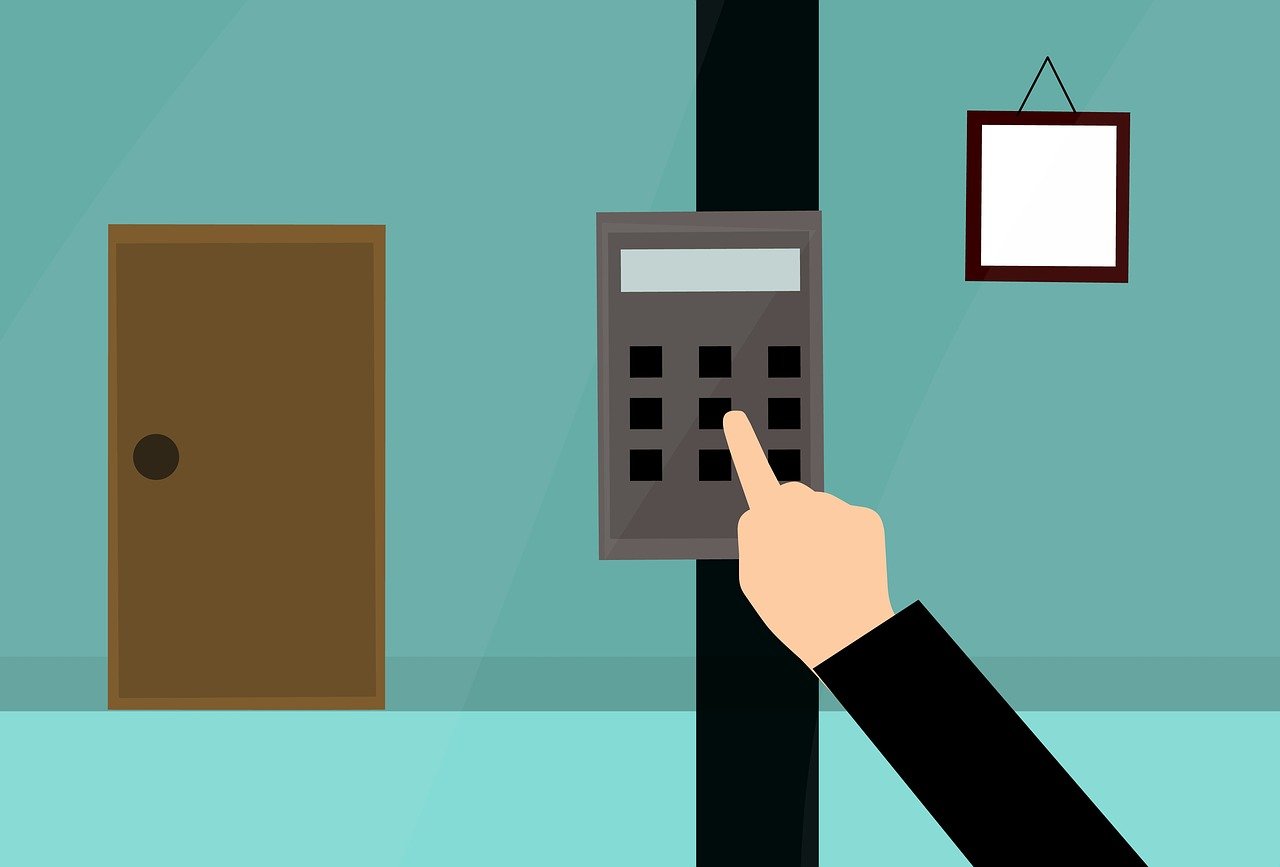
- a keypad (to disarm and activate the alarm system);
- a control panel.
To these elements, it is possible to add additional functions, such as an emergency button or a surveillance camera. Other detectors can be installed near the patio door or the water heater. Also, you could decide to opt for models capable of detecting the presence of carbon monoxide, natural gas, or a change in temperature.
Finally, note that there are also detectors that can be installed in the basement to prevent the occurrence of a flood or sonic models, which are triggered when an abnormal noise such as a broken window product or damage to any luxury furniture in the home.
READ ALSO: What Are The SimpliSafe Home Security Packages?
If you have animals, a warning is in order. Indeed, some motion detectors are designed so that a volume of 40 to 100 pounds is enough to trigger them.
Therefore, if your pet weighs more than this weight, your motion detector may be triggered. For this reason, owners of relatively large animals are generally advised to opt for perimeter and non-volumetric detectors.
Besides, what is the difference between the two? As the name suggests, a volumetric detector will trigger when a defined volume is present in the space, while a perimeter detector will trigger when abnormal activity is detected within a defined perimeter.
READ ALSO: Why Is Data Backup And Recovery So Important?
Alarm System: How Much Does It Cost?
As we just mentioned, an alarm system can be customized to meet a variety of needs. Due to the many additions that can be made to the base system, prices will vary widely, ranging from $300 to $1,000.
This price excludes the monthly fees you will have to pay (ranging from $10 to $50 per month) for your system to be connected to a central monitoring station. It should be noted, in this regard, that it is sometimes required to use this type of subscription at the time of purchase. While doing this, it is important to educate yourself thoroughly if you want a realistic idea of the costs involved.
Moreover, the subscription duration is variable (1 to 5 years). Note that your insurer may agree to offer you a discount on your annual fees if your system is connected to a central monitoring station. This discount can range from 5% to 30% of your home insurance costs.
Also, if you decide that the contact with the central monitoring station will be via a cell phone, it will cost you $ 200 to $ 500 more to purchase as well as $ 5 to $ 10 more. per month. On another note, it’s good to know that you have a one-year warranty on your new alarm system. If you want to obtain an extended warranty, you will have to pay between $10 and $50 more per month.
It should be noted that comparing the different offerings can be quite difficult, with some companies appearing to offer systems at surprisingly low prices. However, these will come with very high monthly fees.
It will therefore be necessary to carefully compare the total costs generated, including purchase (or rental) costs and monthly costs incurred for remote monitoring.
Would you like to terminate your contract? To do this, the company you are doing business with will likely ask you to pay a certain amount as compensation. Some companies charge a more substantial penalty if you received a discount on your system purchase, which is determined by the length of time between the signing of the contract and its cancellation.
Rent or buy your alarm system?
Although we are currently discussing the purchase of an alarm system, be aware that you could also choose to rent it.
However, it is usually more advantageous to purchase because of the higher monthly payments under a lease. In doing so, you will most likely lose out in the long run by forgoing the purchase.
READ ALSO: 6 Ways To Secure Your Home Construction Site
To Maintain Or Not To Maintain Contact With The Central?
If you decide to opt-out of this feature after your subscription ends, there are a few things to consider. First of all, if you are not connected to a central monitoring station and the alarm system is triggered while you are not at home, you will have to rely on the call of one of your neighbors so that emergency services can be contacted.
If you decide to receive a cell phone alert, you need to have complete confidence in the signal quality in the area where you are located.
Regarding how the report is received by the control panel, you have two options: landline or cellular. Of course, we will agree that it would be possible for a thief to cut the wiring, a possibility which is immediately ruled out with a cell line.
However, keep in mind that most of the time, the installed wiring is not visible and therefore inaccessible.
READ ALSO: Exclusive Interview With Russell Rothstein, CEO of IT Central Station
Wired or wireless systems
Among all the systems on the market, there are two main categories: those with wires and those without spinning.
Because of its greater sophistication, the wireless system is generally more expensive (about $150 more). These operate using batteries and a remote control to turn the system on and off. For reference, the batteries last about 5 years.
As for the second system, its various components are interconnected with wires. To conceal them, they are usually made to pass through the ceiling or the attic. Finally, it is important to emphasize that there are also hybrid systems that integrate devices with wires and others without.
It should be noted that wired systems are known for better performance and a lower propensity to trigger false alarms.
READ ALSO: Location Intelligence in Smart Warehouse Threat Detection
Tips To Choose A Home Alarm System

Choosing the right home alarm system can feel overwhelming with so many options available.
Here are some key tips to help you navigate the selection process and find a system that perfectly fits your needs and budget:
1. Assess your needs and security concerns
- What are you trying to protect? Valuables, family, pets, or specific areas of your home?
- What type of property do you have? House, apartment, condo, or something else? Different-sized and shaped spaces require different approaches.
- Do you prefer professional installation or DIY? Consider your comfort level with technology and installation tasks.
- What level of monitoring do you need? Self-monitoring, professional monitoring, or a combination?
- Budget: Determine how much you’re comfortable spending on upfront equipment, monthly fees, and installation costs.
2. Research different types of home alarm systems
- Wired vs. wireless: Wired systems are more reliable but require professional installation, while wireless systems are easier to install yourself but may have range limitations.
- Monitored vs. unmonitored: Monitored systems alert a security company when triggered, while unmonitored systems alert you directly, potentially requiring self-intervention.
- Landline vs. cellular backup: Consider alternative communication methods for alarm signals in case the phone line is out.
3. Compare features and functionalities
- Sensors: Door and window sensors, motion detectors, smoke and CO detectors, water leak detectors, etc.
- Cameras: Indoor, outdoor, with night vision, motion-activated recording, etc.
- Smart home integration: Compatibility with smart locks, thermostats, lights, etc.
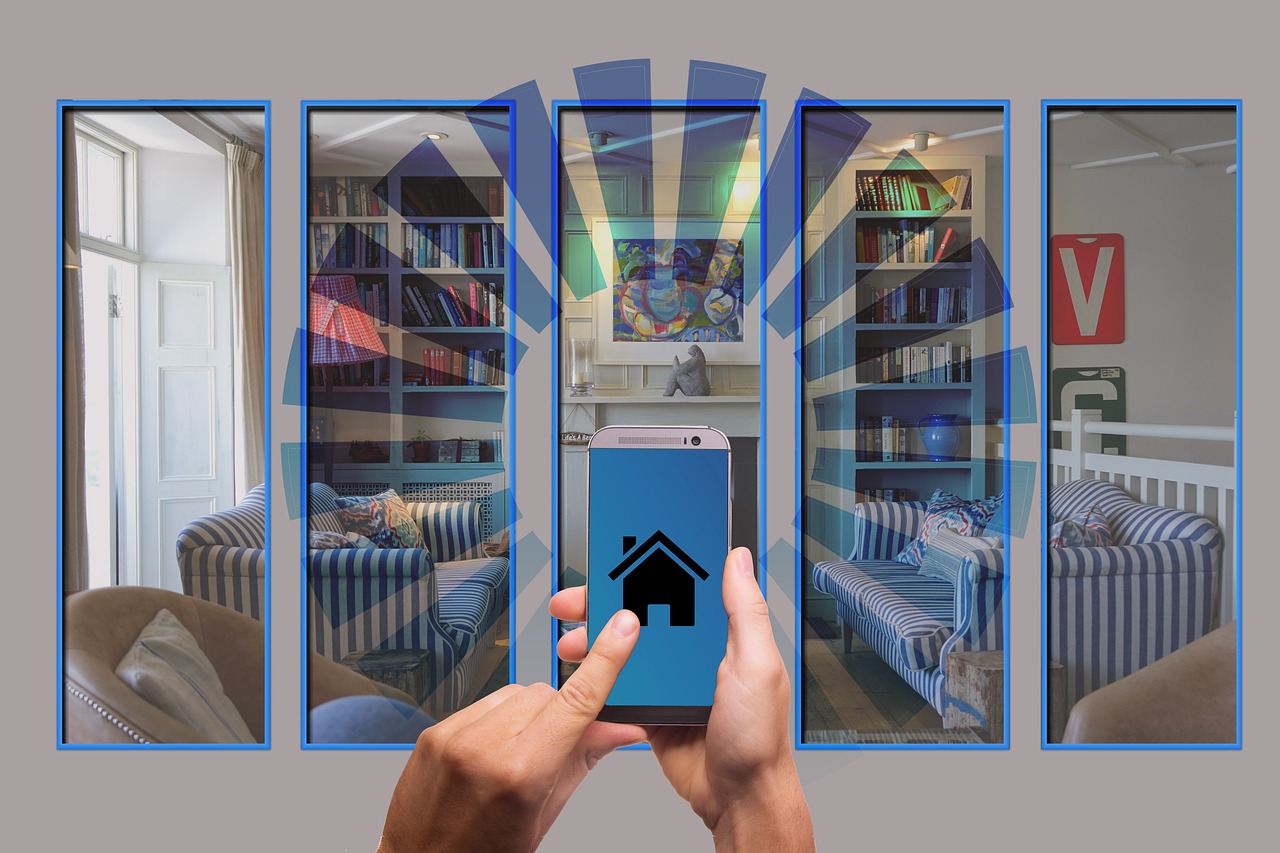
- Mobile app control: Remotely view and control your system, receive alerts, and manage settings.
- Customer service and support: Look for responsive, helpful support to address any questions or issues.
4. Get quotes and read reviews
- Compare pricing from multiple providers for both equipment and monitoring services.
- Read online reviews and customer testimonials to gain insights into user experiences with different systems.
5. Consider additional factors
- Contract length and termination fees: Choose a flexible contract and avoid hefty termination fees.
- Warranties and guarantees: Ensure the system and components come with proper warranties.
- Scalability: Consider if the system can be easily expanded in the future if your needs change.
Bonus Tip: Consult with security professionals or experienced friends/family for personalized recommendations based on your specific requirements.
READ ALSO: Smart Home Security Tips That You MUST READ
Conclusion
What’s more, maintenance costs are usually lower. Let us conclude by emphasizing that the purchase of an alarm system to install oneself is often not recommended, in particular, because of the inherent difficulties of the installation, which lead to a higher number of false alarms.
Remember, the best home alarm system is one that fits your unique needs and budget, effectively protects your property, and provides peace of mind. By following these tips and conducting thorough research, you’ll be well on your way to choosing the perfect system for your home.
RELATED POSTS
- 10 Home Security Tips You Need To Implement Now [Must Read]
- 4 Golden Home Security Services You Must Consider
- Kangaroo Home Security Review
- 10 Most Secure Operating Systems (#9 Is Our Favourite)
- Full Review Of SimpliSafe Home Security System
- 5 Benefits of Having a Home Security System
- 10 Home Security Facts You Never Knew About

 (1)")


")