In this post, I will talk about how to increase delivery speed by 30% with real-time tracking.
Have you ever refreshed a tracking page ten times in an hour, hoping for a glimmer of hope that your package is “out for delivery”? We have all been there. In the fast-moving world of 2026, that “where is my order?” anxiety isn’t just a minor annoyance for customers—it is a dealbreaker for brands.
If you are looking to Increase Delivery Speed and win back customer loyalty, you have to look beyond just driving faster. The secret sauce to modern logistics is a combination of data, transparency, and choosing the right partners to handle the “Final Mile.”
In this comprehensive guide, we will explore how to modernize your supply chain, leverage real-time tracking, and why choosing a specialized Last Mile carrier like DelGate can transform your delivery performance.
Understanding the Logistics of 2026: Speed vs. Transparency
What is Final Mile Delivery? Essentially, it is the movement of goods from a transportation hub or warehouse to the final delivery destination—typically the customer’s doorstep. While it sounds simple, it is often the most expensive and time-consuming part of the entire supply chain.
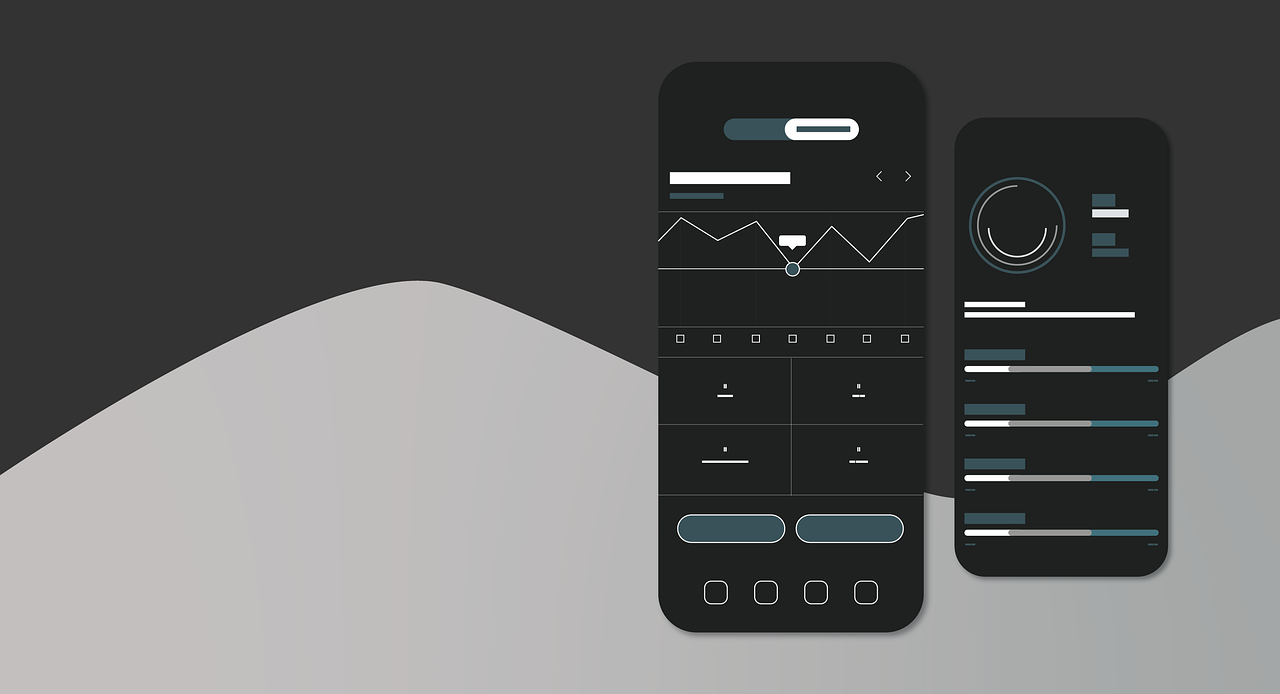
A successful Last-mile delivery strategy in 2026 requires more than just a fleet of vans; it requires an integrated digital ecosystem. According to recent 2025-2026 logistics data, over 90% of consumers now consider real-time tracking a “non-negotiable” part of their shopping experience.
The Impact of Real-Time Tracking on Performance
Real-time tracking does more than just calm a customer’s nerves. It provides actionable data that allows businesses to Increase Delivery Speed by identifying bottlenecks in the route before they cause a delay. When you can see exactly where a driver is held up by traffic or weather, you can reroute the rest of your fleet in seconds.
5 Proven Strategies to Increase Delivery Speed
To achieve a 30% boost in efficiency, you need a multi-layered approach. Here is how the industry leaders are doing it this year.
1. Implement AI-Driven Route Optimization
Gone are the days of static delivery routes. In 2026, AI algorithms analyze millions of data points—from historical traffic patterns to live weather updates—to create the most efficient path.
- Dynamic Rerouting: If a road is closed, the system automatically pushes a new route to the driver’s mobile app.
- Smart Slotting: Placing high-demand items in micro-fulfillment centers closer to urban cores.
2. Partner with Specialized Last Mile Carriers
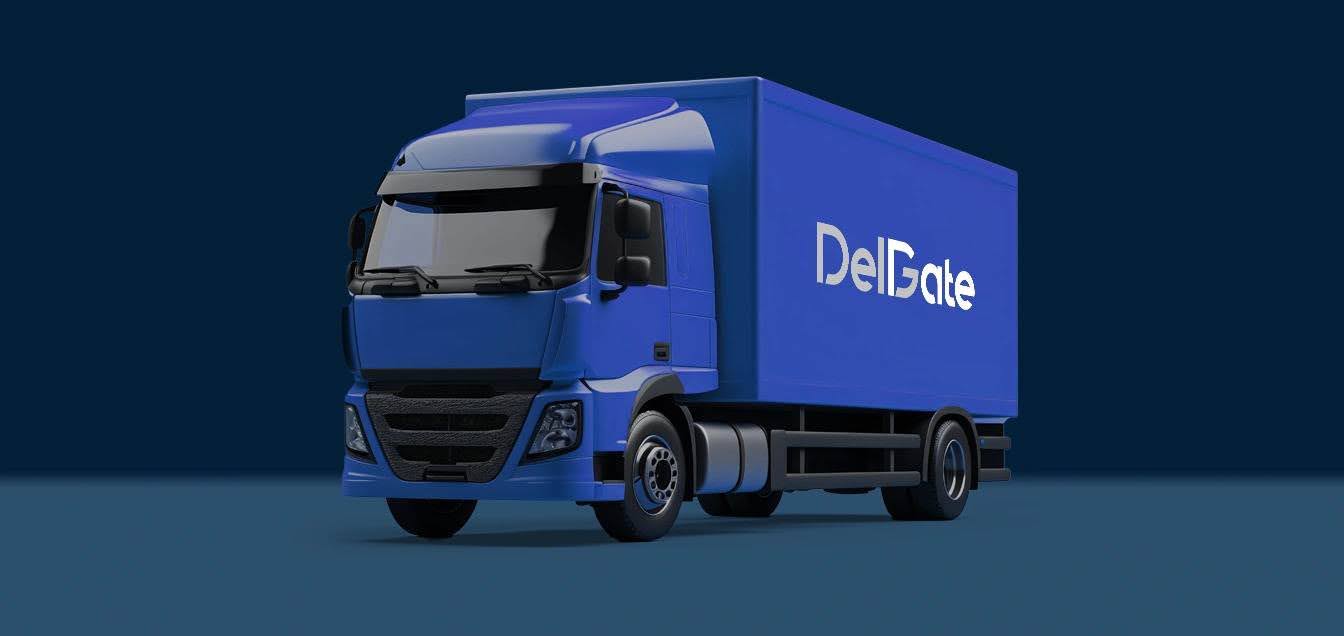
In Canada, the vast geography makes logistics particularly challenging. This is why many successful brands partner with DelGate. As the best Last mile carrier in Canada, DelGate specializes in handling the complexities of the Canadian landscape, offering everything from standard parcel delivery to specialized 2-man teams for heavy furniture.
3. Utilize Micro-Fulfillment Centers (MFCs)
To Increase Delivery Speed, you need to be closer to your customers. By utilizing smaller, localized warehouses (MFCs), you reduce the physical distance a package must travel. This “hyperlocal” approach is a cornerstone of the 2026 delivery model.
4. Enable Predictive Delivery Alerts
Don’t just tell the customer it’s coming; tell them exactly when. Real-time tracking allows you to send SMS updates like, “Your driver is 2 stops away.” This reduces “failed delivery” attempts, which according to Statista, can cost a retailer upwards of $17 per order in redelivery fees.
5. Consolidate Your Tech Stack
If your warehouse software doesn’t talk to your tracking software, you’re losing time. A unified “Orchestration Layer” ensures that from the moment an order is picked to the moment it’s scanned at the door, the data flows seamlessly.
READ ALSO: How Businesses Can Protect Sensitive Mailroom Workflow in a Digital Age
Case Study: The “DelGate” Efficiency Boost
Let’s look at how a specialized carrier can change the game. A leading furniture retailer in Vancouver struggled with 5-day delivery windows and high damage rates. By switching to DelGate, they utilized:
- Real-time GPS tracking for all shipments.
- 2-man white-glove delivery for bulky items.
- Localized dispatching from DelGate’s Coquitlam hub.
The Result: The retailer was able to Increase Delivery Speed by 35% and saw a 40% reduction in customer support inquiries regarding order status.
| Metric | Before Optimization | After (with DelGate) | Improvement |
| Average Delivery Time | 5.2 Days | 3.1 Days | 40% Faster |
| Real-Time Visibility | Limited | 100% (Live Map) | Significant |
| Failed Deliveries | 8% | 1.5% | 81% Reduction |
The Role of Technology in the Final Mile
Modern logistics is no longer a “back-office” function; it is a technology race. To stay competitive, businesses are investing in:
IoT and Sensor Data
Internet of Things (IoT) sensors can now monitor the temperature of perishable goods or the “tilt” of fragile electronics in real-time. If a package is mishandled, the system flags it before it even reaches the customer.
Autonomous and Hybrid Fleets
While fully autonomous drones are still niche, hybrid models—where a driver operates a “mother ship” van that deploys small delivery robots—are becoming more common in urban centers like Toronto and Montreal.
Why “DelGate” is the Top Choice for Canadian Businesses
If you are operating in Canada, you know that weather and distance are your biggest enemies. DelGate has built a reputation as the premier Last mile carrier in Canada by focusing on three pillars:
- Reliability: A fleet designed to handle Canadian winters without missing a beat.
- Technology: Integrated APIs that plug directly into your Shopify or Magento store for instant tracking updates.
- Scalability: Whether you are shipping 10 packages a day or 10,000, their network expands to meet your needs.
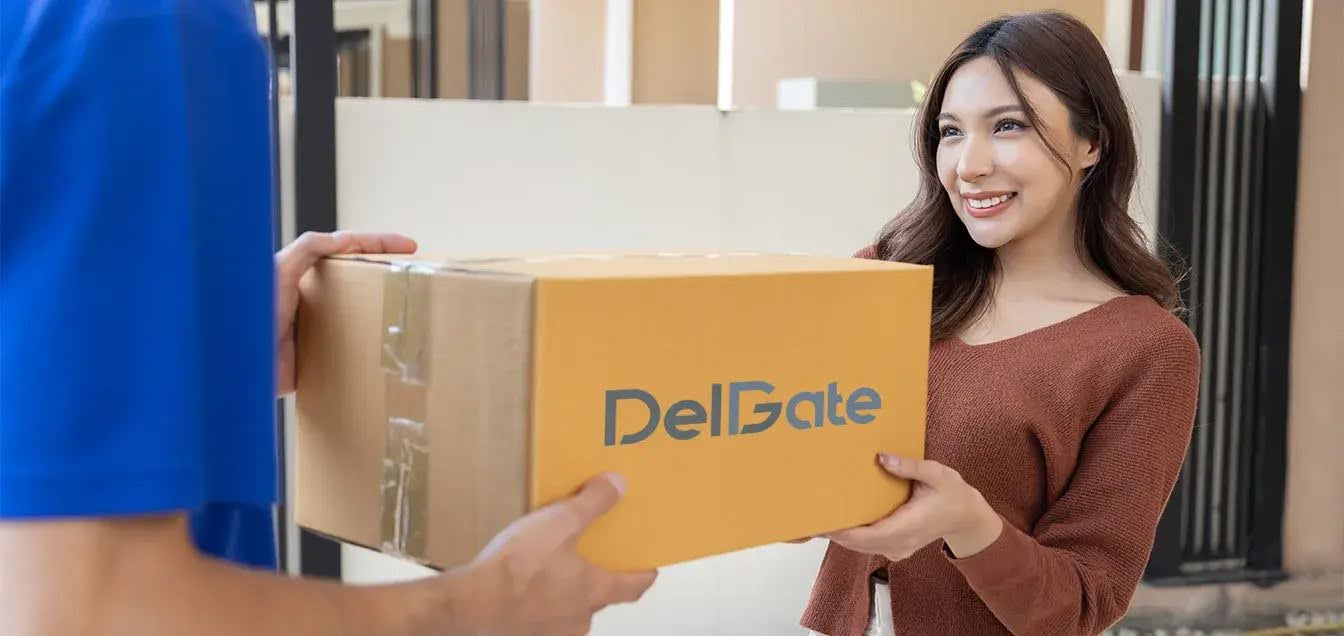
Moreover, their commitment to the customer experience ensures that your brand’s reputation is protected. When a DelGate driver arrives, they aren’t just delivering a box; they are the final touchpoint of your brand’s promise.
Conclusion: The Path to Faster Deliveries
In summary, to Increase Delivery Speed in 2026, you must embrace a data-first mindset. By optimizing your routes with AI, utilizing real-time tracking to eliminate uncertainty, and partnering with a trusted expert like DelGate, you can significantly reduce lead times and boost customer satisfaction.
The “Final Mile” doesn’t have to be your biggest headache. With the right strategy and the right partners, it can become your biggest competitive advantage.
FAQs about Increasing Delivery Speed
- How does real-time tracking actually help to increase delivery speed?
Real-time tracking provides live data on driver location and traffic conditions, allowing dispatchers to reroute drivers around delays instantly. This transparency also reduces failed delivery attempts because customers know exactly when to be home, preventing time-consuming second or third trips.
- What is the most common cause of delays in the final mile?
The most common causes include poor route planning, heavy traffic congestion, and incorrect customer address data. Using a specialized Last Mile carrier who utilizes AI-driven route optimization can mitigate these issues by up to 30%, ensuring the most efficient path is always taken.
- Is it expensive to implement high-speed delivery tracking?
While there is an initial investment in software, the long-term savings are substantial. You reduce costs associated with failed deliveries, lost packages, and customer service labor. Most businesses find that the increase in repeat customers and “Lifetime Value” far outweighs the technology costs.
- Why should I choose a local Canadian carrier like DelGate over a global one?
Local carriers like DelGate have specialized knowledge of Canadian infrastructure and regional weather patterns. They often provide more personalized service, such as 2-man delivery for large items, and have established local hubs that allow for faster “hyperlocal” fulfillment than generic global networks.
- How much can I realistically expect to increase my delivery speed?
By moving from a manual logistics system to an automated one with real-time tracking and a strategic carrier partner, most businesses see an increase in delivery speed of 25% to 35%. This is achieved through better route density, fewer manual errors, and faster “out-for-delivery” processing.
INTERESTING POSTS
- Managing Deliveries on the Go: Top Apps for Delivery Professionals
- The Ultimate Guide to Using a VPN on Your iPhone – Tips and Tricks
- Top 5 Casinos For Highrollers In Canada
- How PCS Software Is Changing the Freight and Logistics Game
- 4 Differences Between Residential Proxies and Datacenter Proxies
- The Benefits and Challenges of Implementing Digital Twins in Supply Chain Management