")
Learn how to scrape Google Reviews safely in 2025 using Python, tools, and proxies in this post.
Google Reviews determine customer perception, influence local SEO rankings, and drive real-world sales.
Whether you’re a marketer, brand strategist, developer, or data analyst, scraping Google Reviews gives you access to structured insights such as:
⭐ Customer sentiment
⭐ Hidden complaints
⭐ Feature requests
⭐ Competitor analysis
⭐ Local SEO optimization opportunities
⭐ Data for dashboards and AI models
But Google aggressively blocks scrapers — so you need the right tools, proxies, and safe methods.
This guide walks you through:
✔ How Google Reviews work
✔ Scraping approaches (manual, API, Python, No-Code)
✔ How to avoid IP bans
✔ Best proxies for scraping (Decodo included naturally)
✔ Full Python script to scrape ANY Google Business reviews
✔ Automation workflows
Let’s dive in.
Understanding Google Reviews Structure

A Google Business Profile page includes:
- Business Name
- Categories
- Address
- Coordinates
- Average Rating
- Number of Reviews
- Ratings Breakdown (1–5 stars)
- Individual Reviews:
- Reviewer name
- Rating
- Date
- Review text
- Images
- Likes
- Local Guide status
Google does not provide an official free API for reviews.
So scraping becomes necessary when you need:
- Bulk reviews
- Historical reviews
- Multi-location monitoring
- Competitor analysis
Is Scraping Google Reviews Legal?
Google’s TOS discourages automated extraction, but scraping public data (reviews without logging in) is generally considered legal IF:
✔ You don’t bypass authentication
✔ You don’t extract private user data
✔ You comply with local laws
✔ You rotate IPs to avoid rate limits
Use the data ethically — not for spam or user identification.
Tools You Can Use to Scrape Google Reviews
A. No-Code Tools (Easiest)
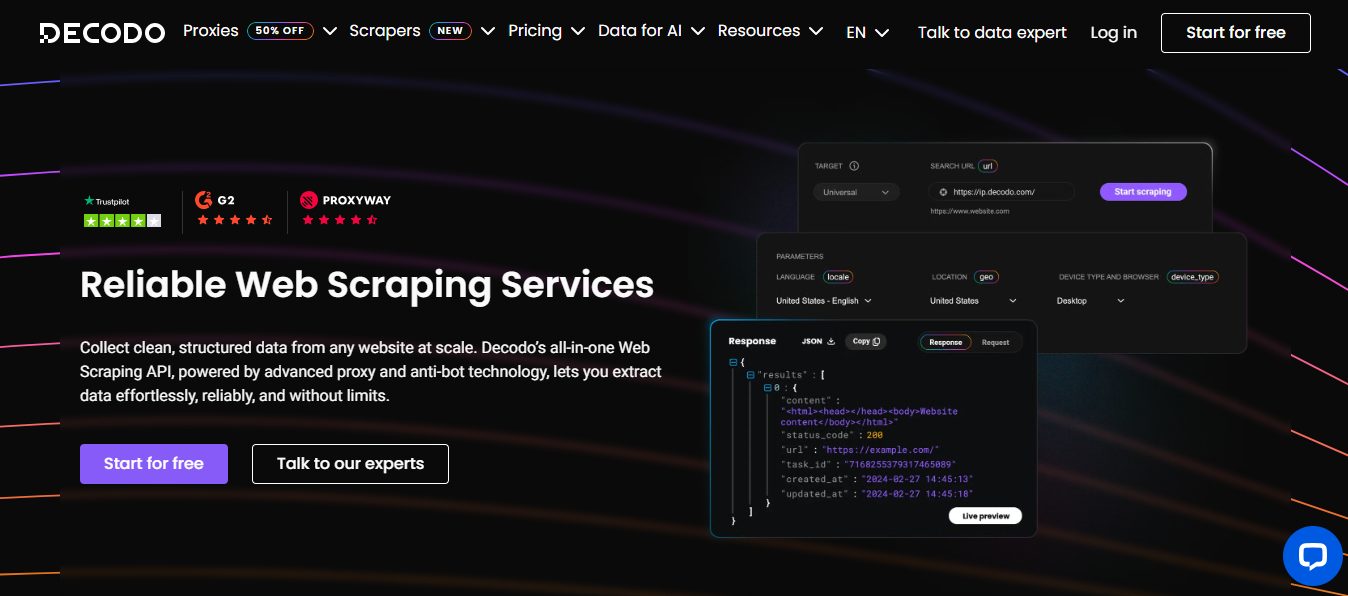
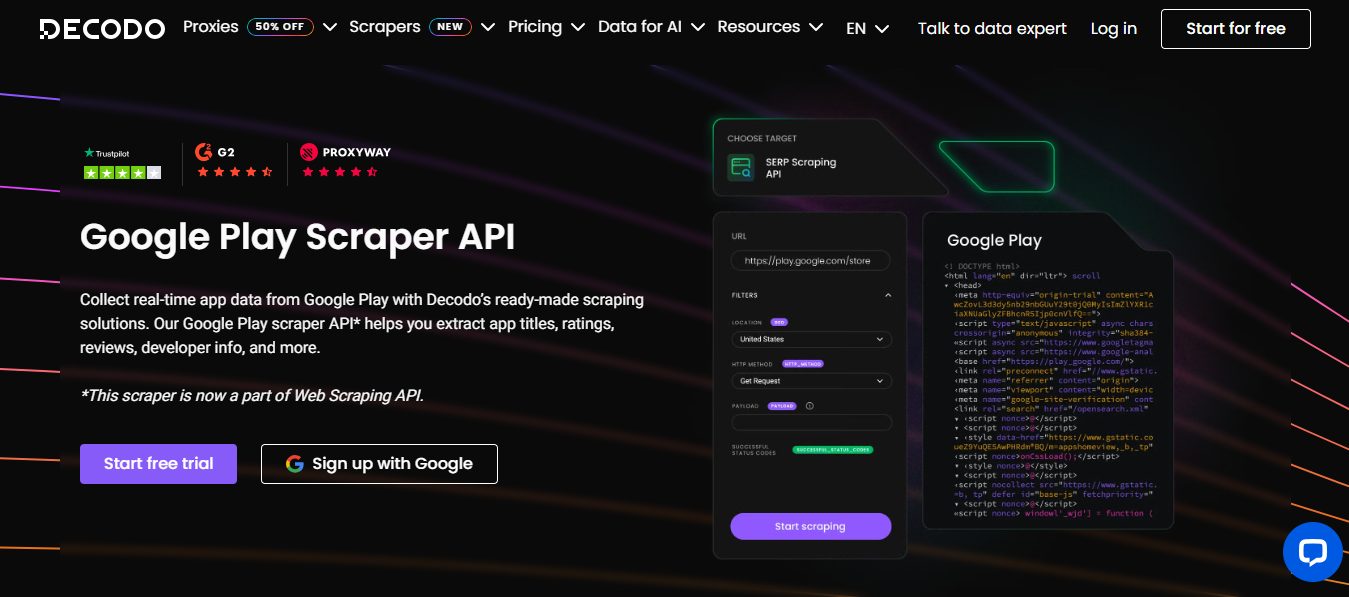
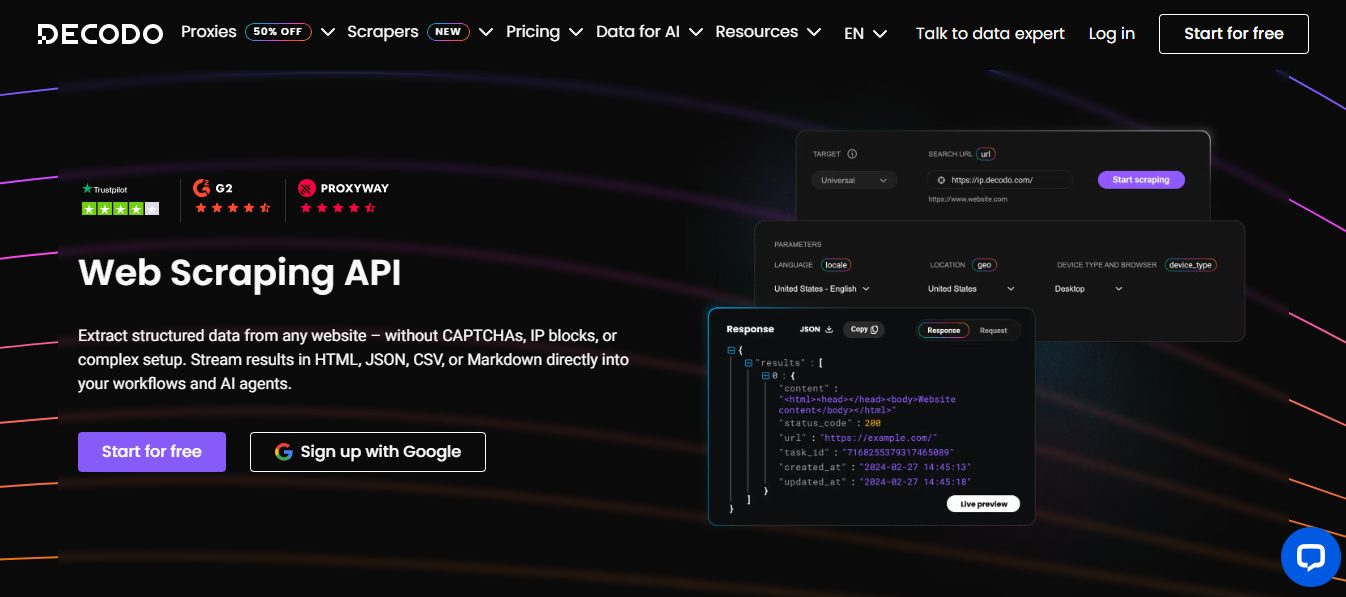
- Decodo Web Scraper (Recommended)
Decodo provides high-quality scraping tools + proxy integration.
Their scrapers bypass rate limits automatically and deliver JSON/CSV output. You simply enter a Google Maps URL → you get structured data. - Other No-Code Tools
- Outscraper
- Bright Data Reviews Scraper
- Apify Google Maps Scraper
- Webscraper.io Chrome Extension
B. Python-Based Scraping (More Control)
Use libraries such as:
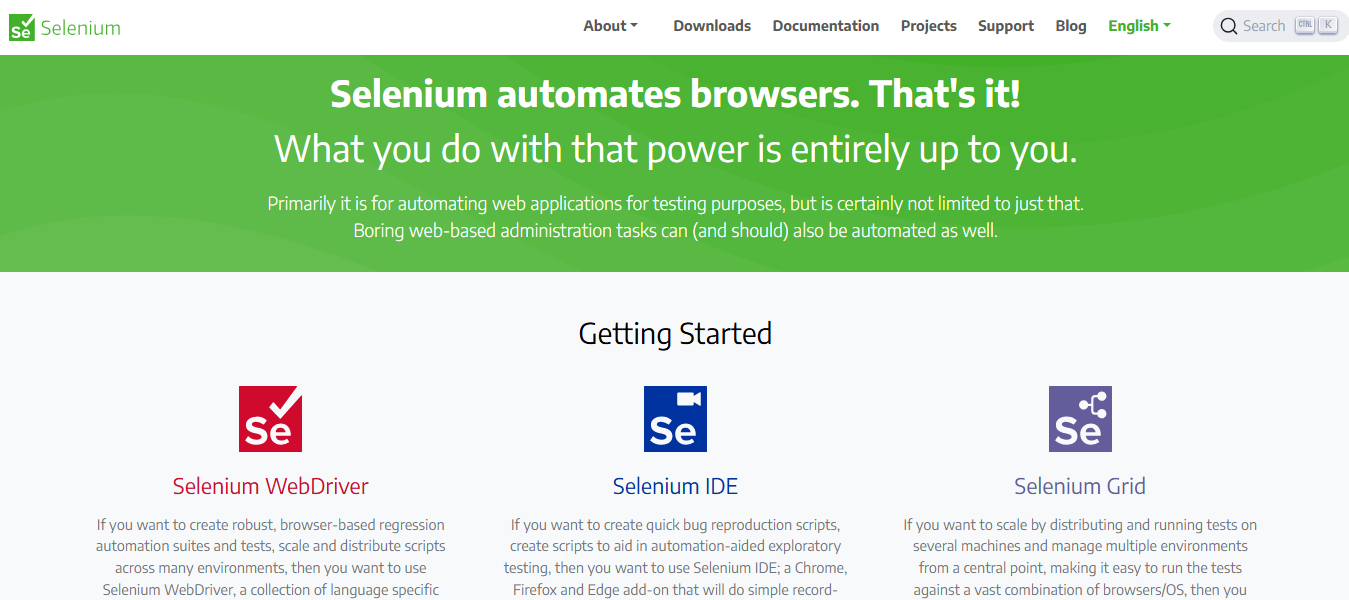
- Selenium
- Playwright
- Requests + parsing
- BeautifulSoup
- SerpAPI (Paid but simple)
We’ll build a full code example later.
C. API Services
SERP APIs simplify scraping but charge monthly fees.
Examples:
- Google Places API
- SerpAPI (Google Reviews endpoint)
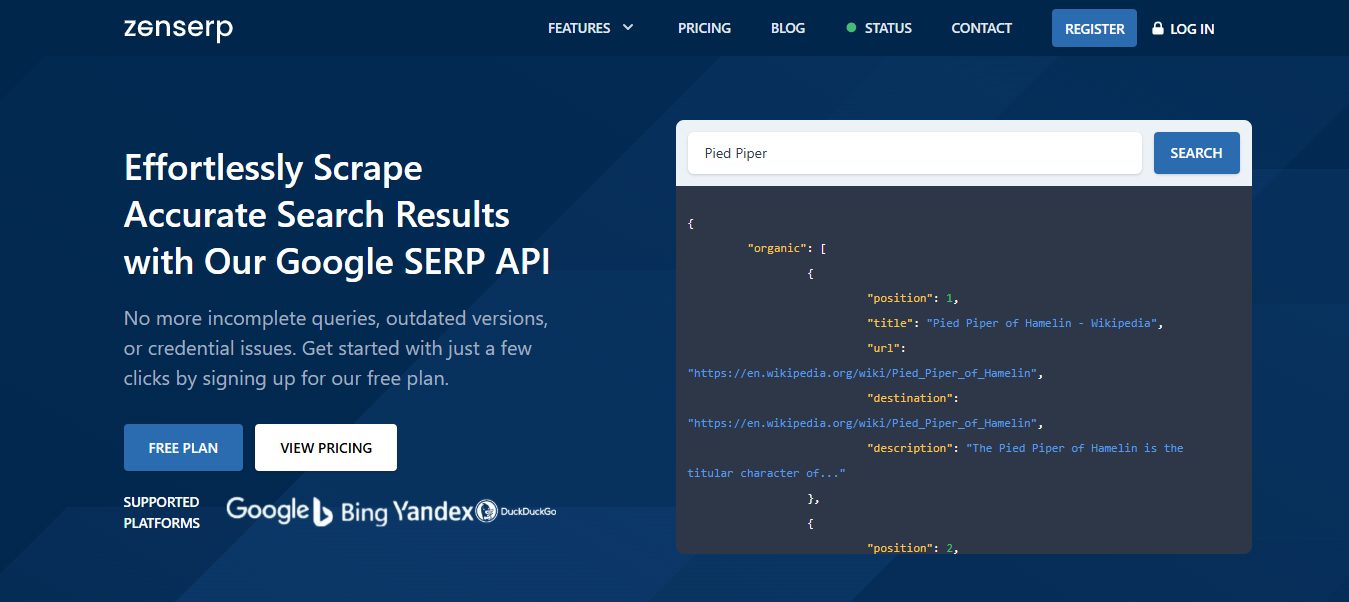
- Zenserp
- Scale SERP
- Oxylabs Scraper API
- Decodo API (lightweight & fast for Maps data)
Why You Must Use Proxies for Google Reviews Scraping
Google blocks repeated requests from:
❌ Datacenter IP ranges
❌ Same IP too many requests
❌ Suspicious scraping patterns
❌ Non-browser user agents
Using proxies ensures:
✔ Continuous scraping
✔ Avoiding throttling
✔ Avoiding CAPTCHA loops
✔ Better geolocation control (useful for local results)
Recommended Proxies for Google Reviews Scraping
| Provider | Type | Best For | Notes |
|---|---|---|---|
| Decodo Residential Proxies | Residential | Google Maps, Google Search | High success rate, strong rotation |
| Oxylabs | Residential + Mobile | Large-scale scraping | Enterprise-level |
| IPRoyal | Residential | Budget workloads | Reliable for small projects |
| Webshare | Datacenter + ISP | Fast tasks | Cheap and scalable |
| Mars Proxies | Mobile | Hard targets | Great for antispam evasion |
Best option for Google Reviews:
➡️ Residential Proxies – Decodo
Step-by-Step: How to Scrape Google Reviews

Let’s break it down from beginner to advanced.
Step 1 — Copy the Google Maps Place URL
Example:
https://www.google.com/maps/place/McDonald's/@40.7614,-73.9828,...
You can get:
- Place ID
- Coordinates
- Raw reviews
Step 2 — Decide Your Method
Method A — No Code (Decodo Scraper)
Quickest option.
Method B — Python (Selenium/Playwright)
Most customizable.
Method C — API (SerpAPI / Decodo / Oxylabs)
Great for speed and reliability.
Step 3 — Install Dependencies (Python)
pip install requests
pip install beautifulsoup4
pip install pandas
pip install fake-useragent
For advanced scraping:
pip install playwright
playwright install
Step 4 — Full Python Script
This script extracts:
✔ Rating
✔ Reviewer
✔ Review Text
✔ Date
✔ Likes
Using Playwright for stability.
from playwright.sync_api import sync_playwright
import pandas as pd
import time

def scrape_google_reviews(url, limit=100):
    data = []

    with sync_playwright() as p:
        browser = p.chromium.launch(headless=True)
        context = browser.new_context(
            user_agent="Mozilla/5.0 (Windows NT 10.0; Win64; x64)",
            locale="en-US"
        )

        page = context.new_page()
        page.goto(url, timeout=100000)

        # Click the reviews button
        page.wait_for_selector("button[jslog*='reviews']")
        page.click("button[jslog*='reviews']")

        time.sleep(3)

        # Scroll reviews container
        scrollable = page.locator("div[aria-label='Reviews']")

        previous_height = 0
        while len(data) < limit:
            scrollable.evaluate("el => el.scrollBy(0, el.scrollHeight)")
            time.sleep(2)

            # Parse reviews
            review_elements = page.locator("div[jscontroller]").all()

            for r in review_elements:
                try:
                    name = r.locator("div[class*='d4r55']").inner_text()
                    rating = r.locator("span[class*='hCC']").get_attribute("aria-label")
                    date = r.locator("span[class*='rsqaWe']").inner_text()
                    text = r.locator("span[class*='wiI7pd']").inner_text()
                except:
                    continue

                data.append({
                    "name": name,
                    "rating": rating,
                    "date": date,
                    "review": text
                })

                if len(data) >= limit:
                    break

        df = pd.DataFrame(data)
        df.to_csv("google_reviews.csv", index=False)
        return df

url = "YOUR_GOOGLE_MAPS_URL_HERE"
df = scrape_google_reviews(url, limit=200)
print(df)
Avoiding Blocks: Best Practices
To scrape without issues:
✔ Rotate proxies every request
✔ Randomize user agents
✔ Insert 1–3 second delays
✔ Use residential proxies for Google
✔ Use headless browsers that mimic real users
✔ Disable images to speed up scraping
✔ Limit to 200–500 reviews per session
How to Use Decodo to Scrape Google Reviews (Quick Method)
Decodo gives you:
- Maps scraper
- Review scraper
- Proxy API
- Code templates
Steps
- Create a Decodo account
- Open Google Maps Scraper
- Paste the business URL
- Choose:
- Output: JSON / CSV
- Limit: Up to thousands
- Run
- Download your data
This offloads:
✔ Proxy rotation
✔ Browser emulation
✔ Anti-bot bypass
✔ Speed optimization
Scraping Multiple Locations
For agencies or SaaS dashboards:
- Prepare a CSV of business URLs
- Loop through your scraping script
- Save each location’s reviews separately
- Combine into a master file
- Run sentiment analysis (TextBlob, GPT, HuggingFace)
Turning Google Reviews Into Insights

After scraping, you can analyze:
A. Sentiment (Positive / Negative / Neutral)
Useful for product teams and customer service.
B. Topic Clustering (AI)
Using embedding models to detect:
- Food quality
- Staff complaints
- Delivery times
- Hygiene concerns
C. Fake Review Detection
Flag patterns such as:
- One-word praise
- Repeated posting times
- Reviewer with no history
D. Competitive Benchmarking
Compare yourself to 3–10 competitors.
Building an Automated Review Monitoring System
Use:
- Decodo API
- Google Sheets / Notion
- Zapier / Make
- Playwright scripts on a server
Automatic pipeline:
- Run scraper daily
- Store reviews in database
- Run sentiment model
- Trigger alerts for negative reviews
- Export weekly reports
Best Proxy Setup for Google Reviews Scraping
For Budget Users
- Decodo Proxies
- Webshare ISP
- IPRoyal Residential
For Medium Scale
- Decodo Residential Proxies (best balance of speed + success rate)
For Enterprise Scale
- Oxylabs Residential + Mobile
- Mars Proxies Mobile for extreme anti-bot environments
Rule:
➡️ Avoid datacenter proxies. Google blocks them instantly.
Frequently Asked Questions About Scraping Google Reviews
What is Google Reviews scraping, and why is it useful?
Google Reviews scraping is the process of automatically collecting reviews from Google Business Profiles using scripts, APIs, or scraping tools. It’s useful for businesses, marketers, and analysts to track customer sentiment, perform competitive analysis, monitor brand reputation, and gather data for SEO and AI applications.
Is it legal to scrape Google Reviews?
Scraping public Google Reviews is generally legal if you only access publicly available data, do not bypass logins or paywalls, and comply with Google’s terms of service. Ethical scraping practices, combined with the use of proxies, ensure compliance and reduce the risk of IP bans.
Which tools are best for scraping Google Reviews in 2025?
Top tools include:
- Decodo: Easy-to-use scraper with built-in residential proxy rotation.
- SerpAPI: Paid API for structured Google Review data.
- Playwright or Selenium: For custom Python scraping scripts.
- BeautifulSoup: To parse HTML content.
Choosing a tool depends on your scale, technical expertise, and the level of automation required.
Why do I need proxies when scraping Google Reviews?
Google actively blocks repeated requests from the same IP address, especially those from data center IPs. Using rotating residential proxies (like Decodo, Oxylabs, or IPRoyal) helps avoid blocks, CAPTCHA, and ensures continuous scraping without being flagged as a bot.
Can I scrape multiple locations at once?
Yes. You can create a list of Google Business URLs and loop through them in your scraping script or automation tool. Each location’s reviews can be exported separately or combined into a master dataset for analysis.
How can I effectively utilize the scraped Google Reviews data?
Scraped data can be analyzed to:
- Identify trends and customer sentiment
- Benchmark competitors
- Feed AI models for sentiment analysis or recommendation engines
- Monitor reputation across multiple locations
- Create dashboards for business intelligence
What are the best practices to avoid getting blocked by Google?
- Rotate IPs using residential proxies
- Randomize user agents and request timings
- Use headless browsers like Playwright to simulate human interaction
- Limit the number of reviews scraped per session
- Respect Google’s rate limits and avoid sending too many requests simultaneously
Final Thoughts
Scraping Google Reviews in 2025 is not just possible — it’s essential for:
- Brand reputation
- Market research
- Competitor intelligence
- Local SEO
- Product improvement
- Customer sentiment monitoring
With Decodo, Playwright, and residential proxies, you can scrape:
✔ Thousands of reviews
✔ Without bans
✔ With clean structured data
✔ Fully automated
INTERESTING POSTS
- How to Use Land Owner Maps to Resolve Boundary and Ownership Conflicts
- Best Web Scraper APIs: Unlocking the Web’s Data
- Amazon Scraper API: Best Tools To Extract Data From Amazon At Scale
- Google Scraper: How to Ethically and Efficiently Extract Search Data
- The Ultimate Guide to Free Proxies
- What Is a Residential Proxy? 2025 Guide, Types & Uses (Complete Breakdown)


")


")