Learn how to safely remove viruses from your computer in this comprehensive guide.
In today’s digital age, computer viruses pose a significant threat to the security and functionality of our devices. These malicious software programs can infiltrate your computer, wreaking havoc by corrupting files, stealing sensitive information, and causing system crashes.
Identifying and removing viruses promptly is essential to protect your data and ensure your computer’s optimal performance.
This comprehensive guide will explore the best practices for removing viruses from Windows and Mac computers. We will cover various methods, including using antivirus software, entering Safe Mode, deleting temporary files, and more.
These steps can eliminate viruses and safeguard your computer from future infections.
Table of Contents
What is a Computer Virus?
Computer viruses are malicious software programs designed to infect and disrupt the normal functioning of a computer system. They can infiltrate your computer through various means, such as email attachments, poisoned macros, or malicious links.
Once inside your computer, viruses replicate themselves and spread to other devices, causing harm.
There are different types of computer viruses, each with its characteristics and modes of operation. Some viruses primarily affect internet browsers, while others can dig deep into the internal controls of your system. Trojan viruses, for example, disguise themselves as legitimate programs but carry out malicious actions behind the scenes.
Signs of a Virus Infection
Detecting a virus infection early is crucial for minimizing the damage it can cause. Here are some common signs that your computer may be infected:
- Slow computer performance: If your computer suddenly becomes sluggish and programs take longer to load, it could be a sign of a virus using your system’s resources.
- Excessive pop-ups: Unexpected and persistent pop-up windows that are difficult to close could indicate a virus infection.
- Unfamiliar programs or apps: If you notice unknown programs or apps appearing on your computer without your knowledge, a virus has likely installed them.
- Changes in settings: Viruses may alter your computer’s settings, such as browser home pages or default search engines, without your consent.
- Corrupted or erased files: If you find that your files are missing, corrupted, or behaving strangely, a virus may be responsible.
- Unusual sounds or overheating: Strange noises from your computer or excessive heat emanating from it can indicate a virus or malware activity.
- Frequent crashes or freezes: If your computer crashes, freezes, or exhibits other unusual behaviour frequently, it may be due to a virus infection.
It’s important to note that experiencing one or two symptoms does not necessarily confirm a virus infection. However, if you notice multiple signs coinciding, it’s advisable to investigate further and take appropriate action.
Best Antivirus Software To Remove Viruses
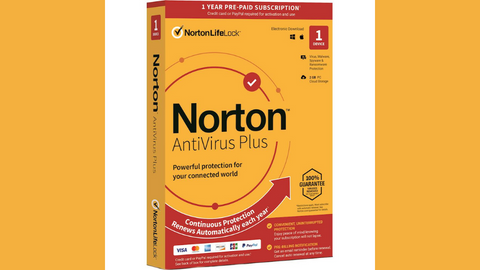
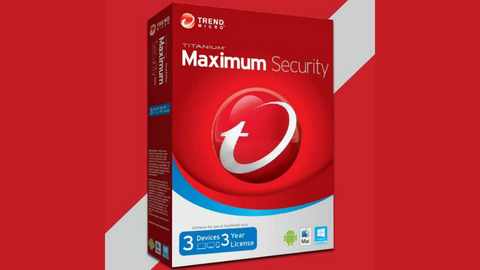
To further enhance your computer’s security, it is highly recommended that you use a reliable antivirus program. Antivirus software provides real-time protection against viruses, malware, and other online threats and can significantly reduce the risk of infections.
Choose a reputable antivirus program that suits your needs and regularly update it to protect against emerging threats.
Remember, prevention is critical. Adopting good security practices and investing in reliable antivirus software can minimize the chances of falling victim to virus infections and effectively protect your computer and personal information.
How To Remove Viruses from a Windows Computer
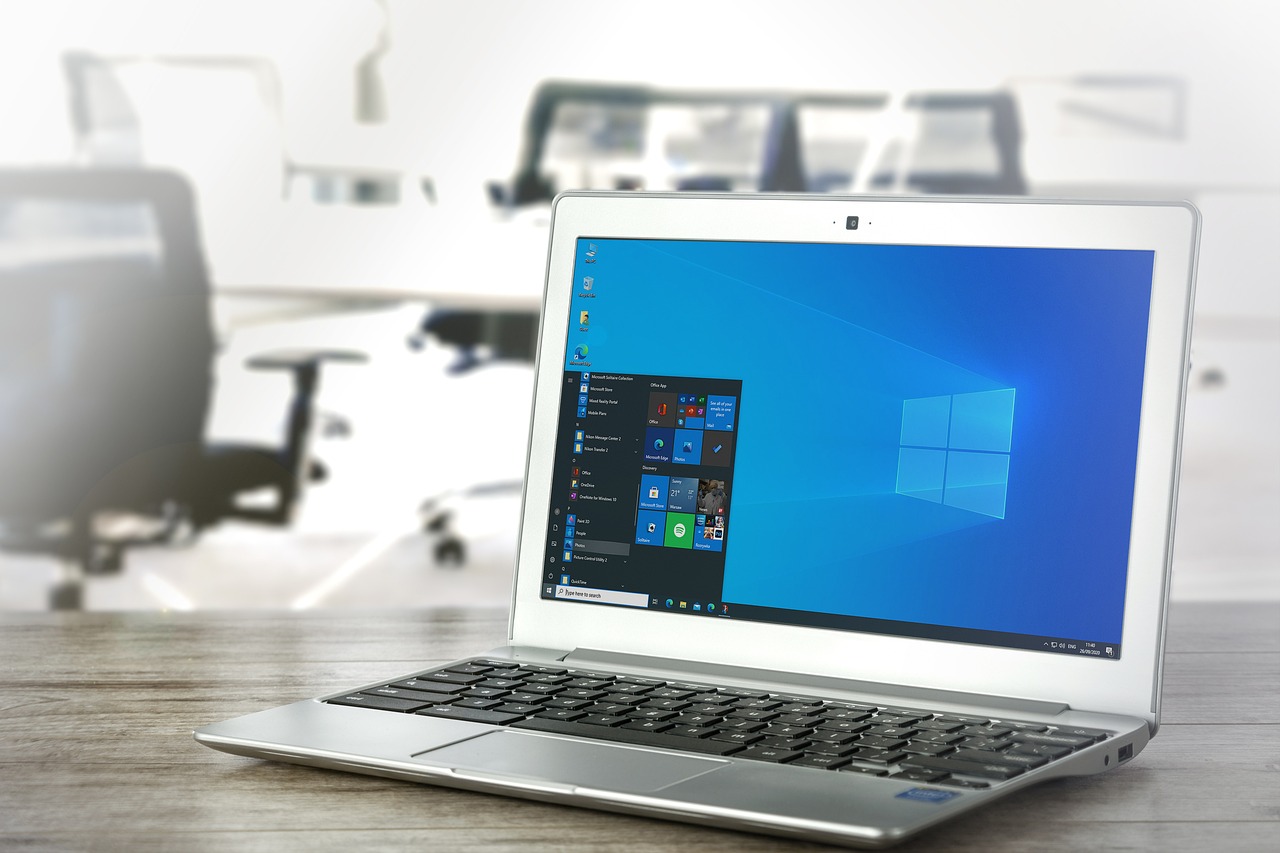
Windows computers are susceptible to viruses and malware, but you can effectively remove them with the right tools and techniques. Follow these steps to eliminate viruses from your Windows computer:
Step 1: Download and Install Antivirus Software
Using reliable antivirus software is crucial for detecting and removing viruses from your computer. One popular option is Microsoft Defender, which comes pre-installed on Windows 10 and offers real-time protection against viruses and malware. Ensure that your antivirus software is up to date and running before proceeding with the virus removal process.
Step 2: Run a Full Virus Scan
Once your antivirus software is active, initiate a full system scan to identify and eliminate viruses on your computer. The scan may take some time, depending on the size of your hard drive and the number of files it needs to examine. Allow the scan to be completed thoroughly before proceeding to the next step.
Step 3: Delete or Quarantine Infected Files
After the scan, your antivirus software will display the results, indicating any infected files detected. Take appropriate action based on the software’s recommendations. You can delete the infected files permanently or quarantine them to prevent further harm. Quarantining isolates the files, rendering them harmless without deleting them entirely.
Step 4: Restart Your Computer in Safe Mode
Restarting your computer in Safe Mode allows it to boot up with only essential programs and services, making it difficult for viruses to run. To enter Safe Mode on Windows 10 or Windows 11, follow these steps:
- Press the Windows key on your keyboard.
- Type “Settings” and click on the “Settings” app.
- In the Settings window, click on “Update & Security.”
- Choose “Recovery” from the left panel.
- Under “Advanced Startup,” click on “Restart Now.”
- Your computer will restart, and a new options screen will appear.
- Select “Troubleshoot” and then “Advanced Options.”
- Click on “Startup Settings” and then “Restart.”
- Finally, press the number key corresponding to “Enable Safe Mode.”
Step 5: Use Autoruns to Delete Malicious Files
Autoruns is a Microsoft tool that allows you to view and manage the programs that start with your computer. By using Autoruns, you can locate and remove suspicious files that may be associated with viruses. Follow these steps:
- Download and extract Autoruns from the official Microsoft website.
- Open the extracted folder and run the Autoruns file.
- In the Autoruns window, review the list of startup processes and files.
- Identify suspicious services and conduct online research to confirm their association with viruses.
- Once verified, delete the questionable services, along with any related files or folders.
Continue to the next step for further virus removal instructions.
Step 6: Restart Windows and Change Browser Settings
After removing suspicious services with Autoruns, restart your computer in normal mode. To do this, click on the Start menu, select the Power option, and choose Restart. Once your computer restarts, follow these steps to change your browser settings:
- Open your web browser and navigate to the settings or options menu.
- Locate the section for home page settings.
- Ensure that your home page is set to a trusted and desired website.
- Make any necessary adjustments to restore your browser settings to their default state.
Step 7: Run a Malwarebytes Malware Scan
If you encounter persistent virus-related issues or suspect some viruses may have gone undetected, running a malware scan with Malwarebytes can provide an additional layer of protection. Malwarebytes is a powerful antimalware application that can detect and remove various types of malware. Follow these steps to use Malwarebytes:
- Visit the Malwarebytes website and download the free trial version of the software.
- Double-click the downloaded file to start the installation process, and follow the on-screen instructions.
- Once installed, open Malwarebytes and click on the “Scan” tab.
- Click “Scan Now” to initiate a scan of your computer for malware.
- Allow the scan to complete, and follow the prompts to remove any detected malware.
Step 8: Reinstall Windows if Necessary
In rare cases where all previous steps fail to remove the virus or if your computer has been severely compromised, reinstalling Windows may be the most effective solution.
Reinstalling the operating system erases all data on your computer, so it’s crucial to back up your files before proceeding. Consider seeking professional assistance or guidance from a trusted source to ensure a smooth reinstallation process.
Following these steps, you can effectively remove viruses from your Windows computer and restore its security and performance.
How To Remove Viruses from a Mac Computer
Mac computers, although generally less prone to viruses than Windows PCs, are not immune to malware attacks. If you suspect a virus on your Mac, follow these steps to remove it safely:
Step 1: Force-Quit Persistent Malware Programs
If a program or group of programs is preventing you from restarting your Mac, use the Activity Monitor utility to force-quit them. Here’s how:
- Click on the Spotlight magnifying glass icon in the top-right corner of the screen.
- Type “activity monitor” and press Return.
- Select the program or service you want to force-quit in the Activity Monitor window.
- Click the “X” button in the top-left corner of the window.
- When prompted, click “Force Quit” to terminate the selected program.
Step 2: Accept Prompts to Move Malware to the Trash
If your Mac detects a known virus after a software update, it will prompt you to delete it. Follow the on-screen prompts to move the malware to the Trash and then empty it to remove it permanently.
Step 3: Restart Your Mac into Safe Mode
Restart your Mac in Safe Mode to prevent most programs, including viruses, from starting up. Here’s how:
- Click on the Apple menu in the top-left corner of the screen.
- Select “Restart…” from the drop-down menu.
- When prompted to restart, immediately hold down the Shift key on your keyboard.
- Release the Shift key when you see the login window appear.
Step 4: Download and Install Malwarebytes
Malwarebytes is a reputable antivirus program that can detect and remove malware from your Mac. Follow these steps to download and install Malwarebytes:
- Visit the Malwarebytes website and download the Mac version of the software.
- Double-click the downloaded file to start the installation process.
- Follow the on-screen instructions to install Malwarebytes on your Mac.
Step 5: Click Scan Now and Remove Discovered Viruses
Once Malwarebytes is installed, open the application and click the “Dashboard” tab. Then, click “Scan now” to initiate a scan of your Mac for viruses and malware. After the scan, follow the prompts to remove any detected viruses and ensure their complete elimination.
Step 6: Delete Malicious Apps and Associated Files
If Malwarebytes detects malicious apps on your Mac, it’s crucial to remove them to prevent further infections. Follow these steps to delete malicious apps:
- Open Finder by clicking the Finder icon in the Dock or pressing Command + Space and typing “Finder.”
- In the Finder window, click “Applications” in the left sidebar.
- Locate the app you want to remove and drag its icon to the Trash.
- Click and hold the Trash icon in the Dock, then select “Empty Trash” to permanently delete the app.
Remember to delete any associated files or folders related to the malicious apps. Use Spotlight to search for and locate these files and move them to the Trash before emptying them.
Step 7: Clear the Downloads Folder
If you suspect you accidentally downloaded a file that triggered the virus, consider clearing your Downloads folder. Follow these steps:
- Open Finder and click on “Downloads” in the left sidebar.
- Select the files in the Downloads folder that may be associated with the virus.
- Drag the selected files to the Trash.
- Empty the Trash to remove the files permanently.
Step 8: Change Browser Home Pages if Necessary
Viruses often manipulate browser settings, such as the home page, to redirect users to malicious websites. To prevent these unwanted redirects, follow these steps to change your browser’s home page in Safe Mode:
- Open your web browser and navigate to the settings or preferences menu.
- Locate the section for home page settings.
- Ensure that your home page is set to a trusted and desired website.
- Make any necessary adjustments to restore your browser’s home page to its default state.
Step 9: Restart Your Mac and Reinstall the OS if Needed
After completing the virus removal steps, restart your Mac in normal mode. Click on the Apple menu, select “Restart…,” and click “Restart” when prompted.
If the virus persists or your Mac has been severely compromised, reinstalling the operating system may be necessary. Prioritize backing up your important files before proceeding with the reinstallation.
Following these steps, you can effectively remove viruses from your Mac computer and restore its security and performance.
Best Practices to Prevent Virus Infections
While knowing how to remove viruses is essential, prevention is the best defence against infections.
Here are some best practices to help you minimize the risk of virus infections:
- Use an Antivirus Program: Install reputable antivirus software and keep it up to date. Regularly run scans to detect and remove any potential threats.
- Keep Your Operating System and Software Updated: Enable automatic updates for your operating system and other software to ensure you have the latest security patches.
- Be Cautious with Email Attachments and Links: Avoid opening email attachments or clicking on suspicious links from unknown senders. These can be vehicles for viruses.
- Download Software from Trusted Sources: Only download software from reputable sources, such as official websites or trusted app stores.
- Enable Firewall Protection: Activate the built-in firewall on your computer to monitor and block unauthorized access.
- Use Strong and Unique Passwords: Create strong, unique passwords for all your accounts, and consider using a password manager to keep track of them securely.
- Regularly Back Up Your Data: Maintain regular backups of your important files to protect against data loss in case of a virus infection or system failure.
- Educate Yourself: Stay informed about cybercriminals’ latest virus threats and common tactics. This knowledge will help you recognize and avoid potential risks.
These preventive measures can significantly reduce the likelihood of virus infections and protect your computer.
Conclusion
Viruses pose a continuous threat to the security and functionality of our computers. Knowing how to detect and remove viruses is essential in safeguarding our data and ensuring optimal system performance.
Whether you’re using a Windows or Mac computer, following the steps outlined in this comprehensive guide will help you effectively remove viruses and restore your computer’s security.
Remember to use reliable antivirus software, run regular scans, and keep your operating system and software current. Additionally, practising safe browsing habits and employing preventive measures can significantly reduce the risk of virus infections. You can maintain a secure, virus-free computing experience by staying vigilant and proactive.
Protect your computer and stay informed about the latest virus threats to ensure your digital world remains safe and secure.
INTERESTING POSTS
- Computer Viruses Guide: Eradicate Digital Threats
- The Best Antivirus Software
- Work VPN Slow At Home? EXPERT Fixes That Work!
- Malwarebytes Review 2024: Is It Worth It?
- Top 5 Antivirus Platforms For Your Computer
- How to Remove the Wave Browser Virus: A Step-by-Step Guide
- Is Carbonite Safe To Use? [Unbiased ANSWER]
- How To Safeguard Your Business From Cyberattacks
- StatesCard Review: Is This Card Worth Your Wallet?
- VeePN Review: The Ultimate VPN Solution for Security and Privacy
About the Author:
Meet Angela Daniel, an esteemed cybersecurity expert and the Associate Editor at SecureBlitz. With a profound understanding of the digital security landscape, Angela is dedicated to sharing her wealth of knowledge with readers. Her insightful articles delve into the intricacies of cybersecurity, offering a beacon of understanding in the ever-evolving realm of online safety.
Angela's expertise is grounded in a passion for staying at the forefront of emerging threats and protective measures. Her commitment to empowering individuals and organizations with the tools and insights to safeguard their digital presence is unwavering.


